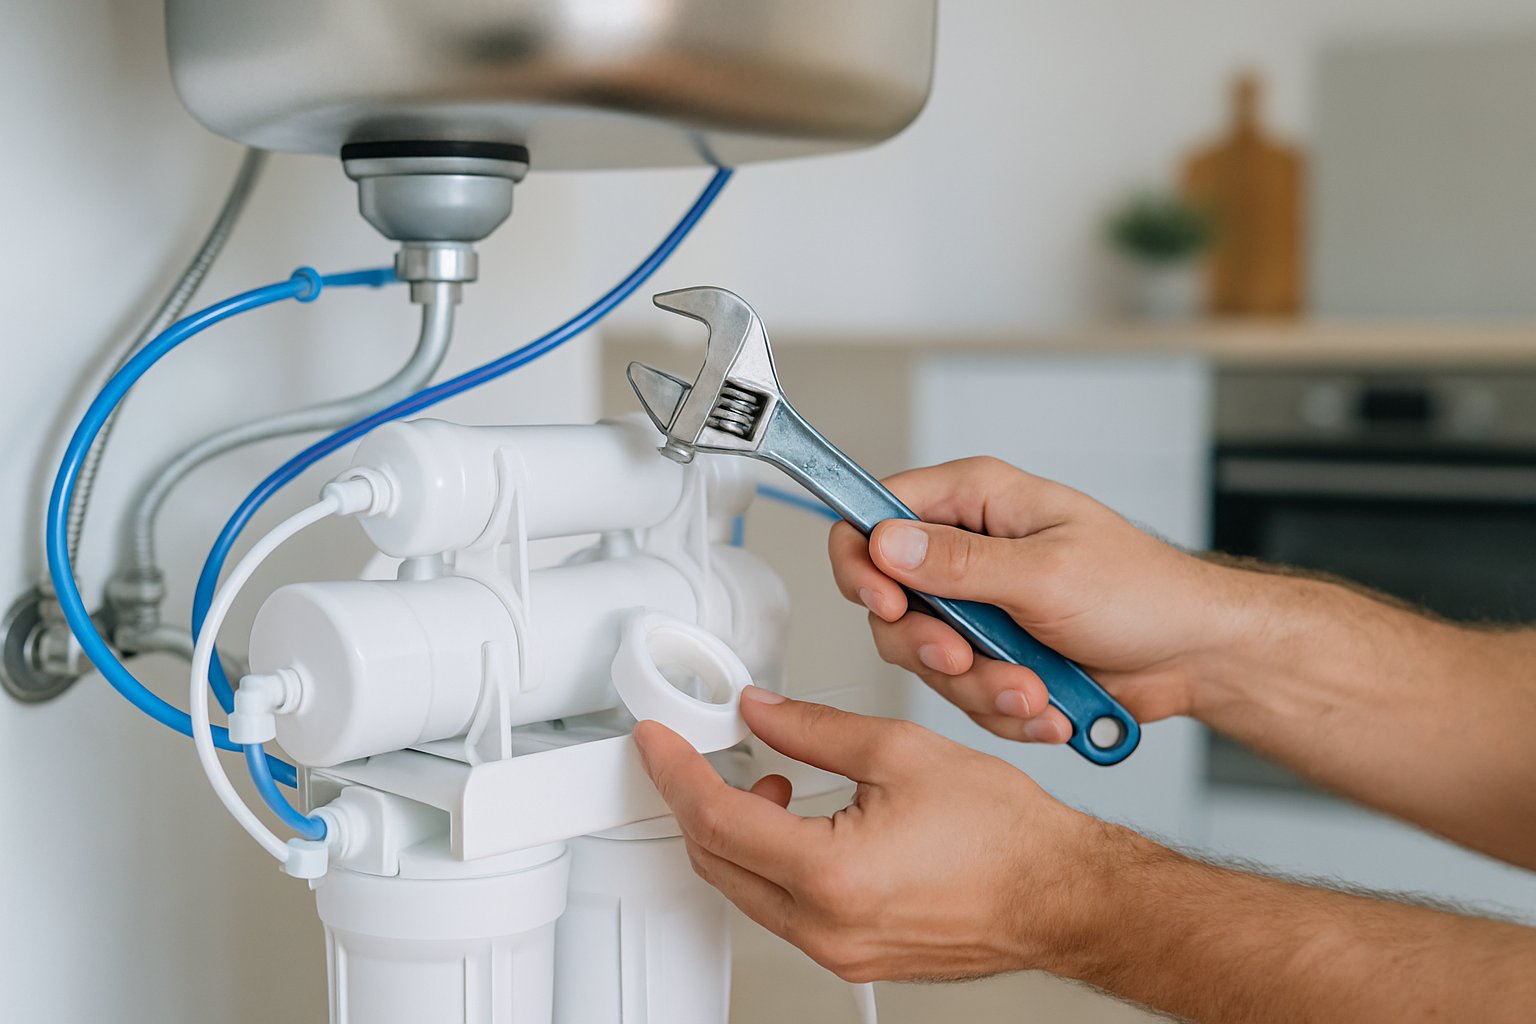
How a reverse osmosis system is installed: step by step
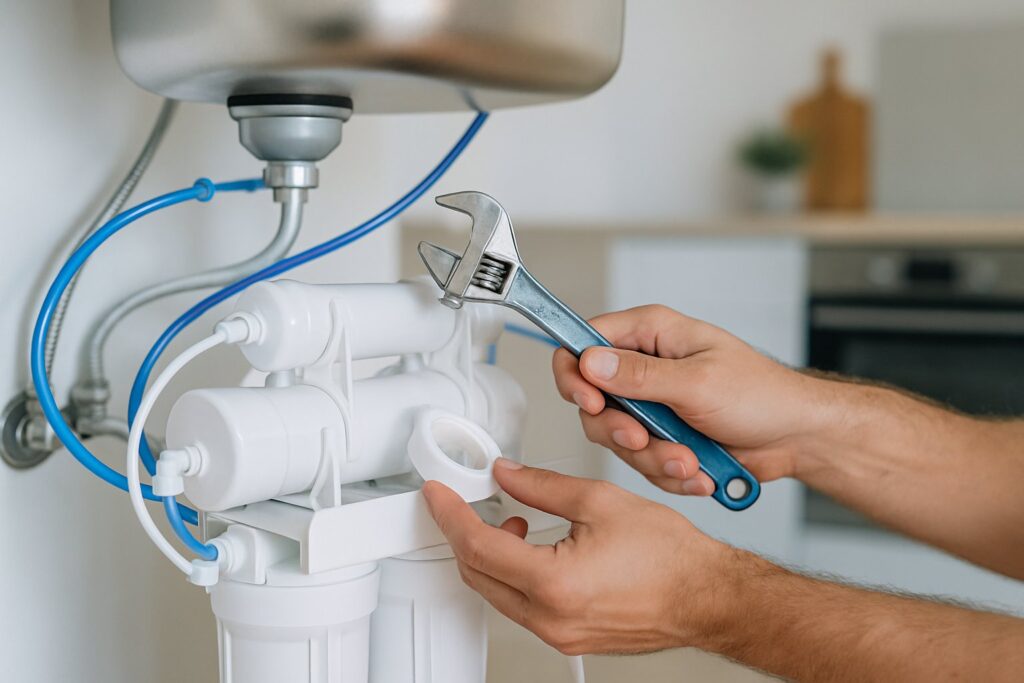
Installing reverse osmosis isn't a mystery, but it's best done by someone with experience: small things (seals, air in the lines, cartridge order, the famous "dedicated tap") that, done wrong, end in leaks or poor flow. Here's the full step-by-step so you know exactly what will happen when we come to your home.
1. Water test and system choice
Before touching anything. We measure your water (TDS, hardness, chlorine), check the space under your sink and choose the right system : with a tank or compact direct-flow, with or without a remineralizer. Fixed quote.
2. What you need beforehand
Just three things:
- Cold water supply under the sink (the standard tap's, with a shut-off valve).
- Accessible drain: we'll use the trap to connect the system's reject water line.
- A small spot on the countertop or sink to fit the dedicated tap (sometimes an existing hole cover is reused).
3. Water shut-off and unit assembly
We close the main shut-off valve or the one under the sink. We place the unit (with or without a tank, depending on the chosen model) and fix it if needed. Modern compact units don't even need screws: they just sit in place.
4. Connecting to the cold water supply
We fit a branch valve ("saddle valve") on the sink's cold water supply. From there, a flexible hose (1/4 inch) runs to the unit. Osmosis feeds on cold water only; never hot.
5. Connecting to the drain
The membrane produces a percentage of reject water carrying the concentrated salts. That water goes to the drain via a clamp on the trap. On modern systems that "reject" is highly optimized.
6. Dedicated tap
The treated water comes out of an independent tap we fit on the countertop or the sink itself. It's a small, elegant tap with its own hose to the unit. Usually chrome, though black or gold finishes are available on request.
7. Start-up and flushing
With everything in place, we open the valve and let the system flush: the first tankful is discarded (there's still air and a "new filter" taste). We check every connection for leaks and measure the TDS at the outlet: it should read under 50 ppm if all is well.
8. Handover and maintenance scheduling
We show you how the tap works, note the date for the annual filter change and leave you in writing which model you have, which filters it uses and its warranty.
How long it takes
A standard installation usually takes 1-2 hours. More complex installs (a tap hole to drill, an odd trap, hospitality with several outlets) can take half a day. We always leave with the system running and no mess behind.
Can you do it yourself?
With a domestic kit and some skill, yes. But common mistakes include fitting cartridges in the wrong order, over-tightening a seal and cracking it, or leaving air in the line. The system then runs at half throttle or drips at 3 a.m. For a few euros more, it's better done for you, with a warranty.
Appointment and installation in 24-48 h
If it works for you, in Malaga and Marbella we usually book within 24-48 working hours. Tell us your case and we'll call you with a day and time.
More questions on this topic
Can osmosis be installed in a rented flat?
Does the unit need electricity?
Can the osmosis line feed a fridge with a water dispenser?
Want real water in your home or business?
Free water test in Malaga, Marbella and the whole Costa del Sol. Fixed quote, no obligation.
Call 600 500 074 →